
How to Jumpstart Your Custom UI Builder Component Development
by Jake Laux and Freddy Reza
Have you ever experienced the frustration of forgetting how to do simple tasks when building custom components in the Now Experience UI Framework? We at esolutionsONE, have experienced this a number of times. And if you're a ServiceNow Developer, chances are you've encountered the same struggle. So, if that’s the case, don’t worry; in this article, we'll walk you through the essential steps and help you regain your confidence, whether you're a beginner diving into the world of custom component building or simply need a refresher.
PREREQUISITES
We faced issues with users attempting to use the component, realizing they lacked some prerequisites, notably Python3, which is no longer included in recent MacOS versions.
Prerequisites for our example component:
Installations for these can also be found in the Prerequisites section of the readme on the GitHub repository here.
THE COMPONENT
If you have used the REST API Explorer from your instance, our component might seem familiar! Our goal was to build a simple component that encompasses everything you might need to start building custom components and one that will help for testing purposes as well. It allows the user to choose what kind of REST request they want to make and what table to pull data from. If the request is successful, the response will be displayed at the bottom. Very simple.

OUR GOAL
Taking an iterative approach, we wanted to build something that can help those who are interested in developing custom components and give them a resource to turn to with plenty of examples of how to do simple things like making REST requests or giving you a good starting point using a similar file structure similar to what we made. We hope this component becomes an example that you can refer to if you don’t quite remember how to set up your Action Handlers or configure your properties to be used in UI Builder.
HOW IT WORKS
We won't dive into the granular details of how it all works here (but hey, if you're interested in an in-depth exploration, feel free to check out the GitHub Repo). Instead, we'll focus on the most important pieces that will be in almost any component you want to build: Action Handlers, a View, and Properties.
ACTION HANDLERS
Let’s first talk about how we are using Action Handlers. If you want a quick tutorial on how Actions and Action Handlers work, check out our other creator-DNA article, by Nick Allen, covering it here. The first action being dispatched is ‘GET_USER’, which occurs on bootstrapping of the component.

This action is then received by the corresponding action handler which uses the object sent in the dispatch and makes the REST request. If the request is successful, then it will run the ‘successActionType’ called ‘SET_USER_ID’.

‘SET_USER_ID’ will take the results from the request and updates the state variable ‘user’ with the user information we got..

This is the simplest version of a REST call that we make in this component and can be easily added to any component.
VIEW
Next, let’s talk about what is happening in the main index.js where the view exists. If you are not too familiar with React, you might wonder what is going on with these weird HTML elements being used throughout the main index.js file. Below is an example of what I am talking about.
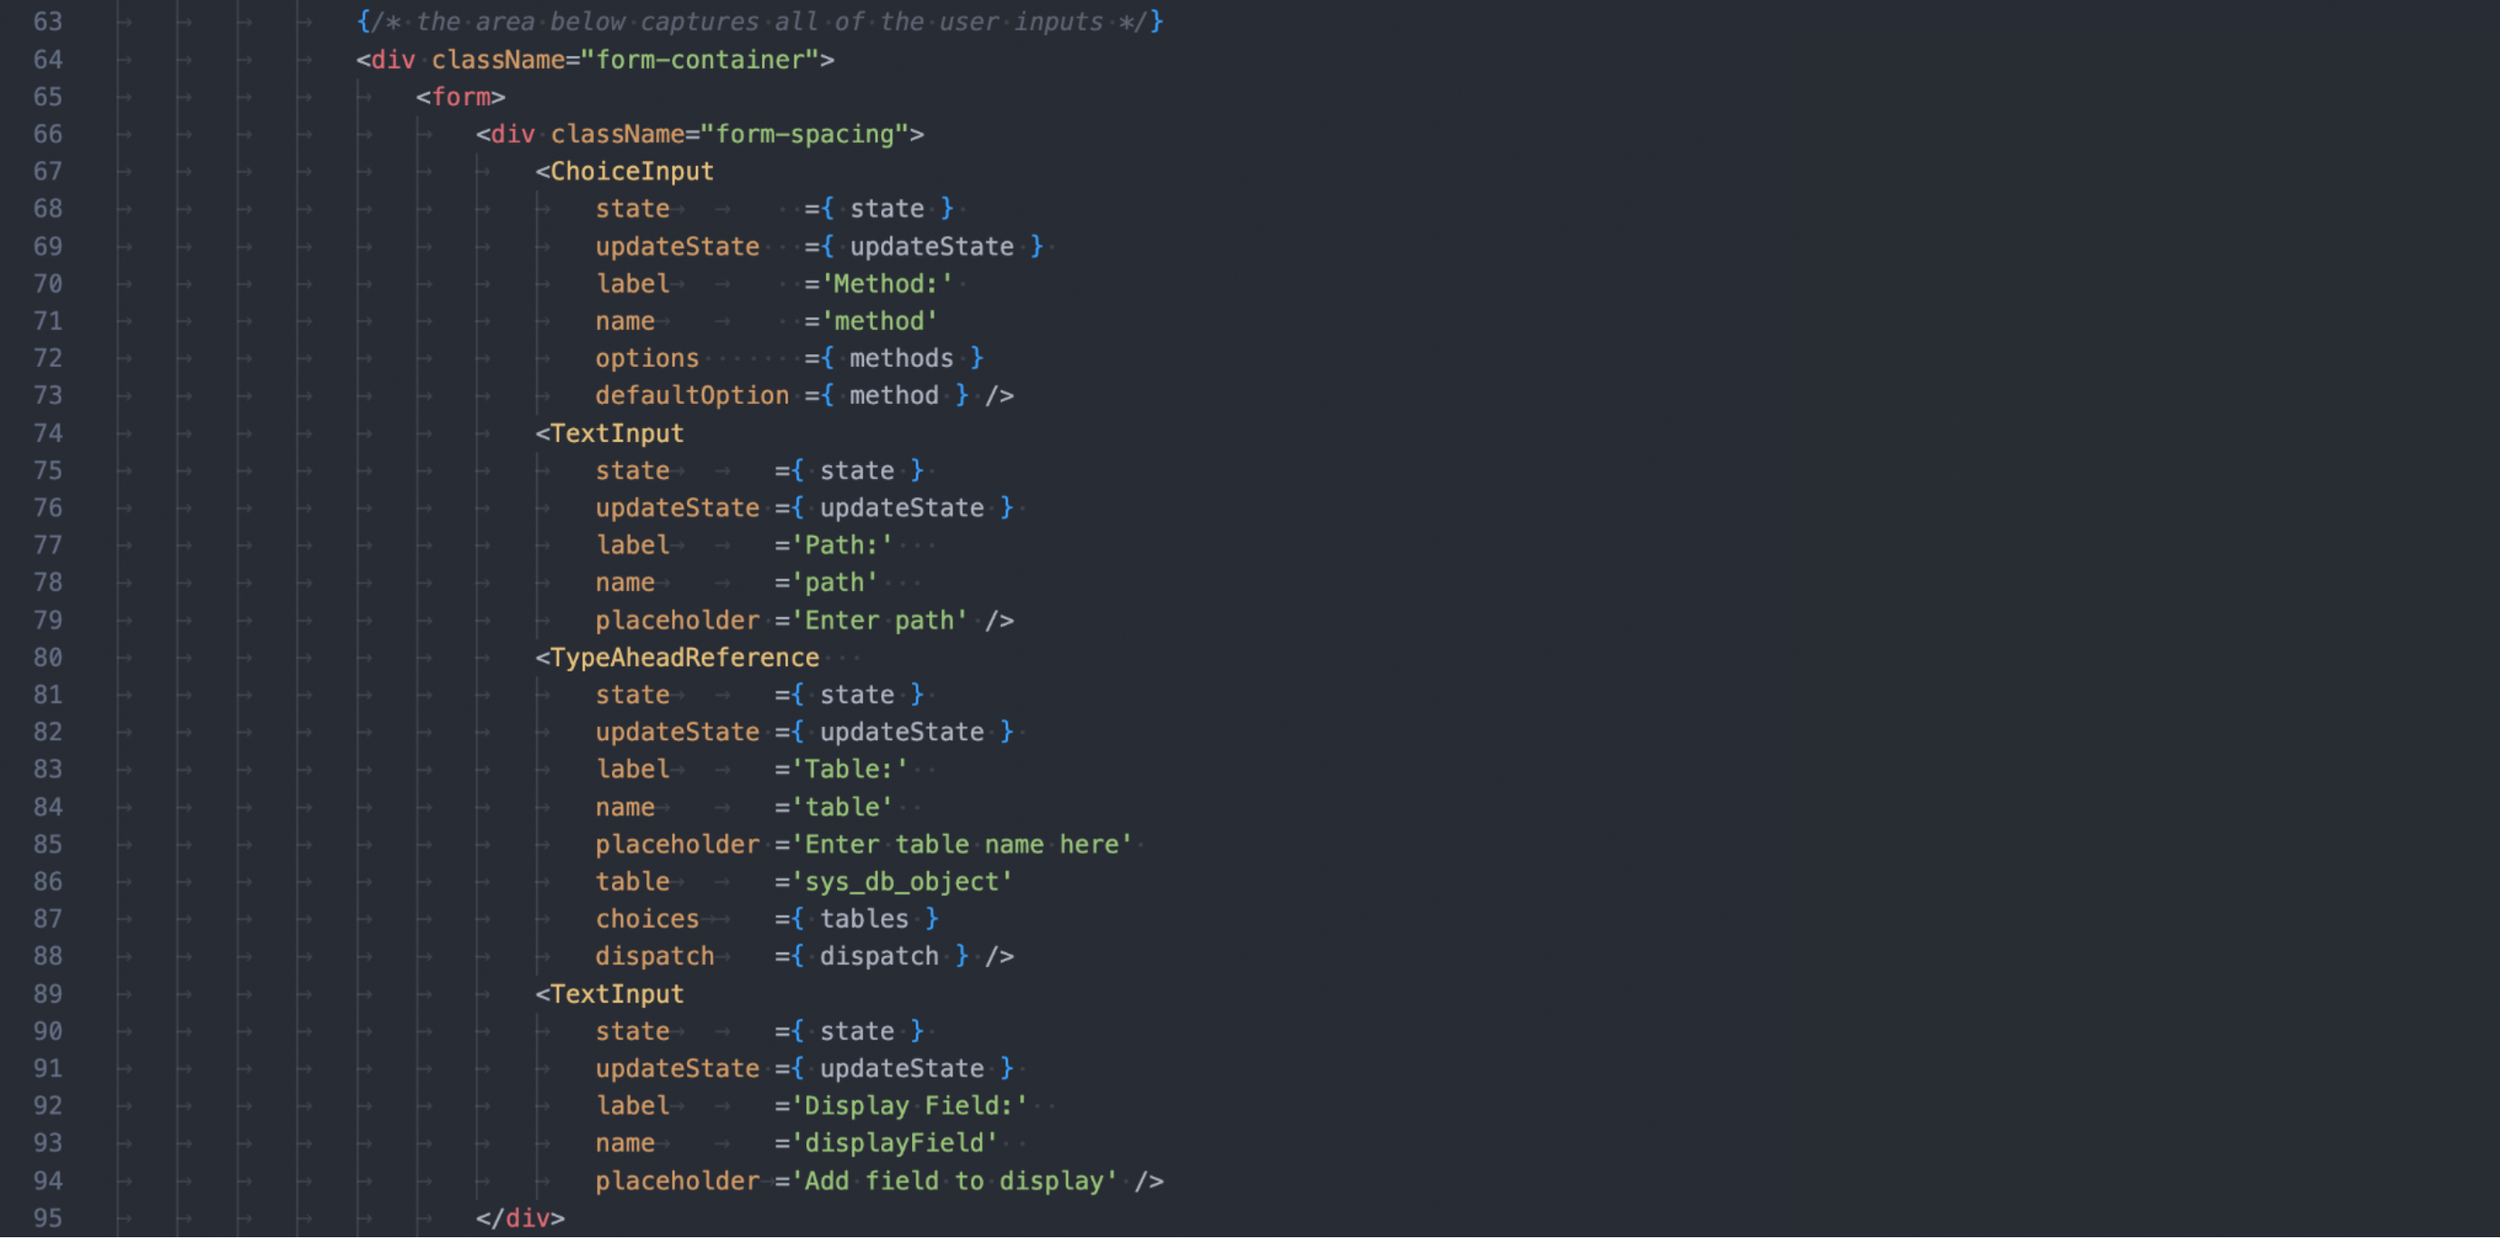
We wanted a good example of creating and using a child component. In the image above, you will see the <TextInput> component being used in different places with different props being passed down. This is standard practice when it comes to React components. As you can see, the “Path,” “Display Field,” and “Query” are all using the same TextInput component.

Below you can see what makes up the component. Essentially, it is made up of a <label> and an <input>; depending on the props passed down to it in the parent component, it will display something different.

You can find more examples like this in our component to use as a good reference for how components and props are used.
CONFIGURING PROPERTIES
Finally, let us talk about the Properties and how we configured ours. Something we couldn’t find a clear example of in the documentation for building custom components was how to configure properties similar to those in UI Builder. The docs show you how to initialize them(see image below) in your main index but not how to make them configurable in UI Builder.

Once the properties are initialized, they need to be configured in the now-ui.json file; this is where you will link the properties you created in your main index.js file to UI Builder. If you look at the image beneath, you will see how each property is a JSON object with specific keys.

If we look at the title property, it gives the simplest example of how to configure a text input from UI Builder.

Using the Config section of the component, once it is deployed to an instance, you can see all the properties we configured in the now-ui.json file.

It is important to note that our approach to creating these components involved mimicking the property configuration of an existing component. To accomplish this, we explored the sys_ux_macroponent.list and examined the properties utilized by specific components within UI Builder. We will provide a detailed, step-by-step example of how to perform this process in an upcoming article release. Please stay tuned for more information.
CONCLUSION
In conclusion, we have examined several critical aspects of the Rest API Explorer component that we developed and discussed the process behind each one. The Action Handlers, the view, and the properties all play crucial roles in the composition of a component and can sometimes present challenges to navigate. Our intention is for you to utilize this component to enhance your comprehension of building your components, thus bypassing the need for extensive trial and error that we encountered.